Company Set-Up #
The Company Set-Up feature allows admins to create structure and organization for their teams by defining Jobs, Groups, Cost Codes, and Time Categories through the Admin Portal. This guide explains how to configure and manage these components for a seamless company setup.
What is Company Set-Up? #
Company Set-Up helps admins organize their teams effectively by creating:
- Jobs: Jobs are often tied to locations and allow users to check in and out from specific job sites.
- Groups: Groups allow you to organize teams that aren’t linked to specific jobs or locations (e.g., department teams).
- Cost Codes: Cost Codes allow users to further distinguish the type of work performed at a job location.
- Time Categories: Time Categories provide options for users to categorize their check-ins and check-outs (e.g., hourly, salaried).
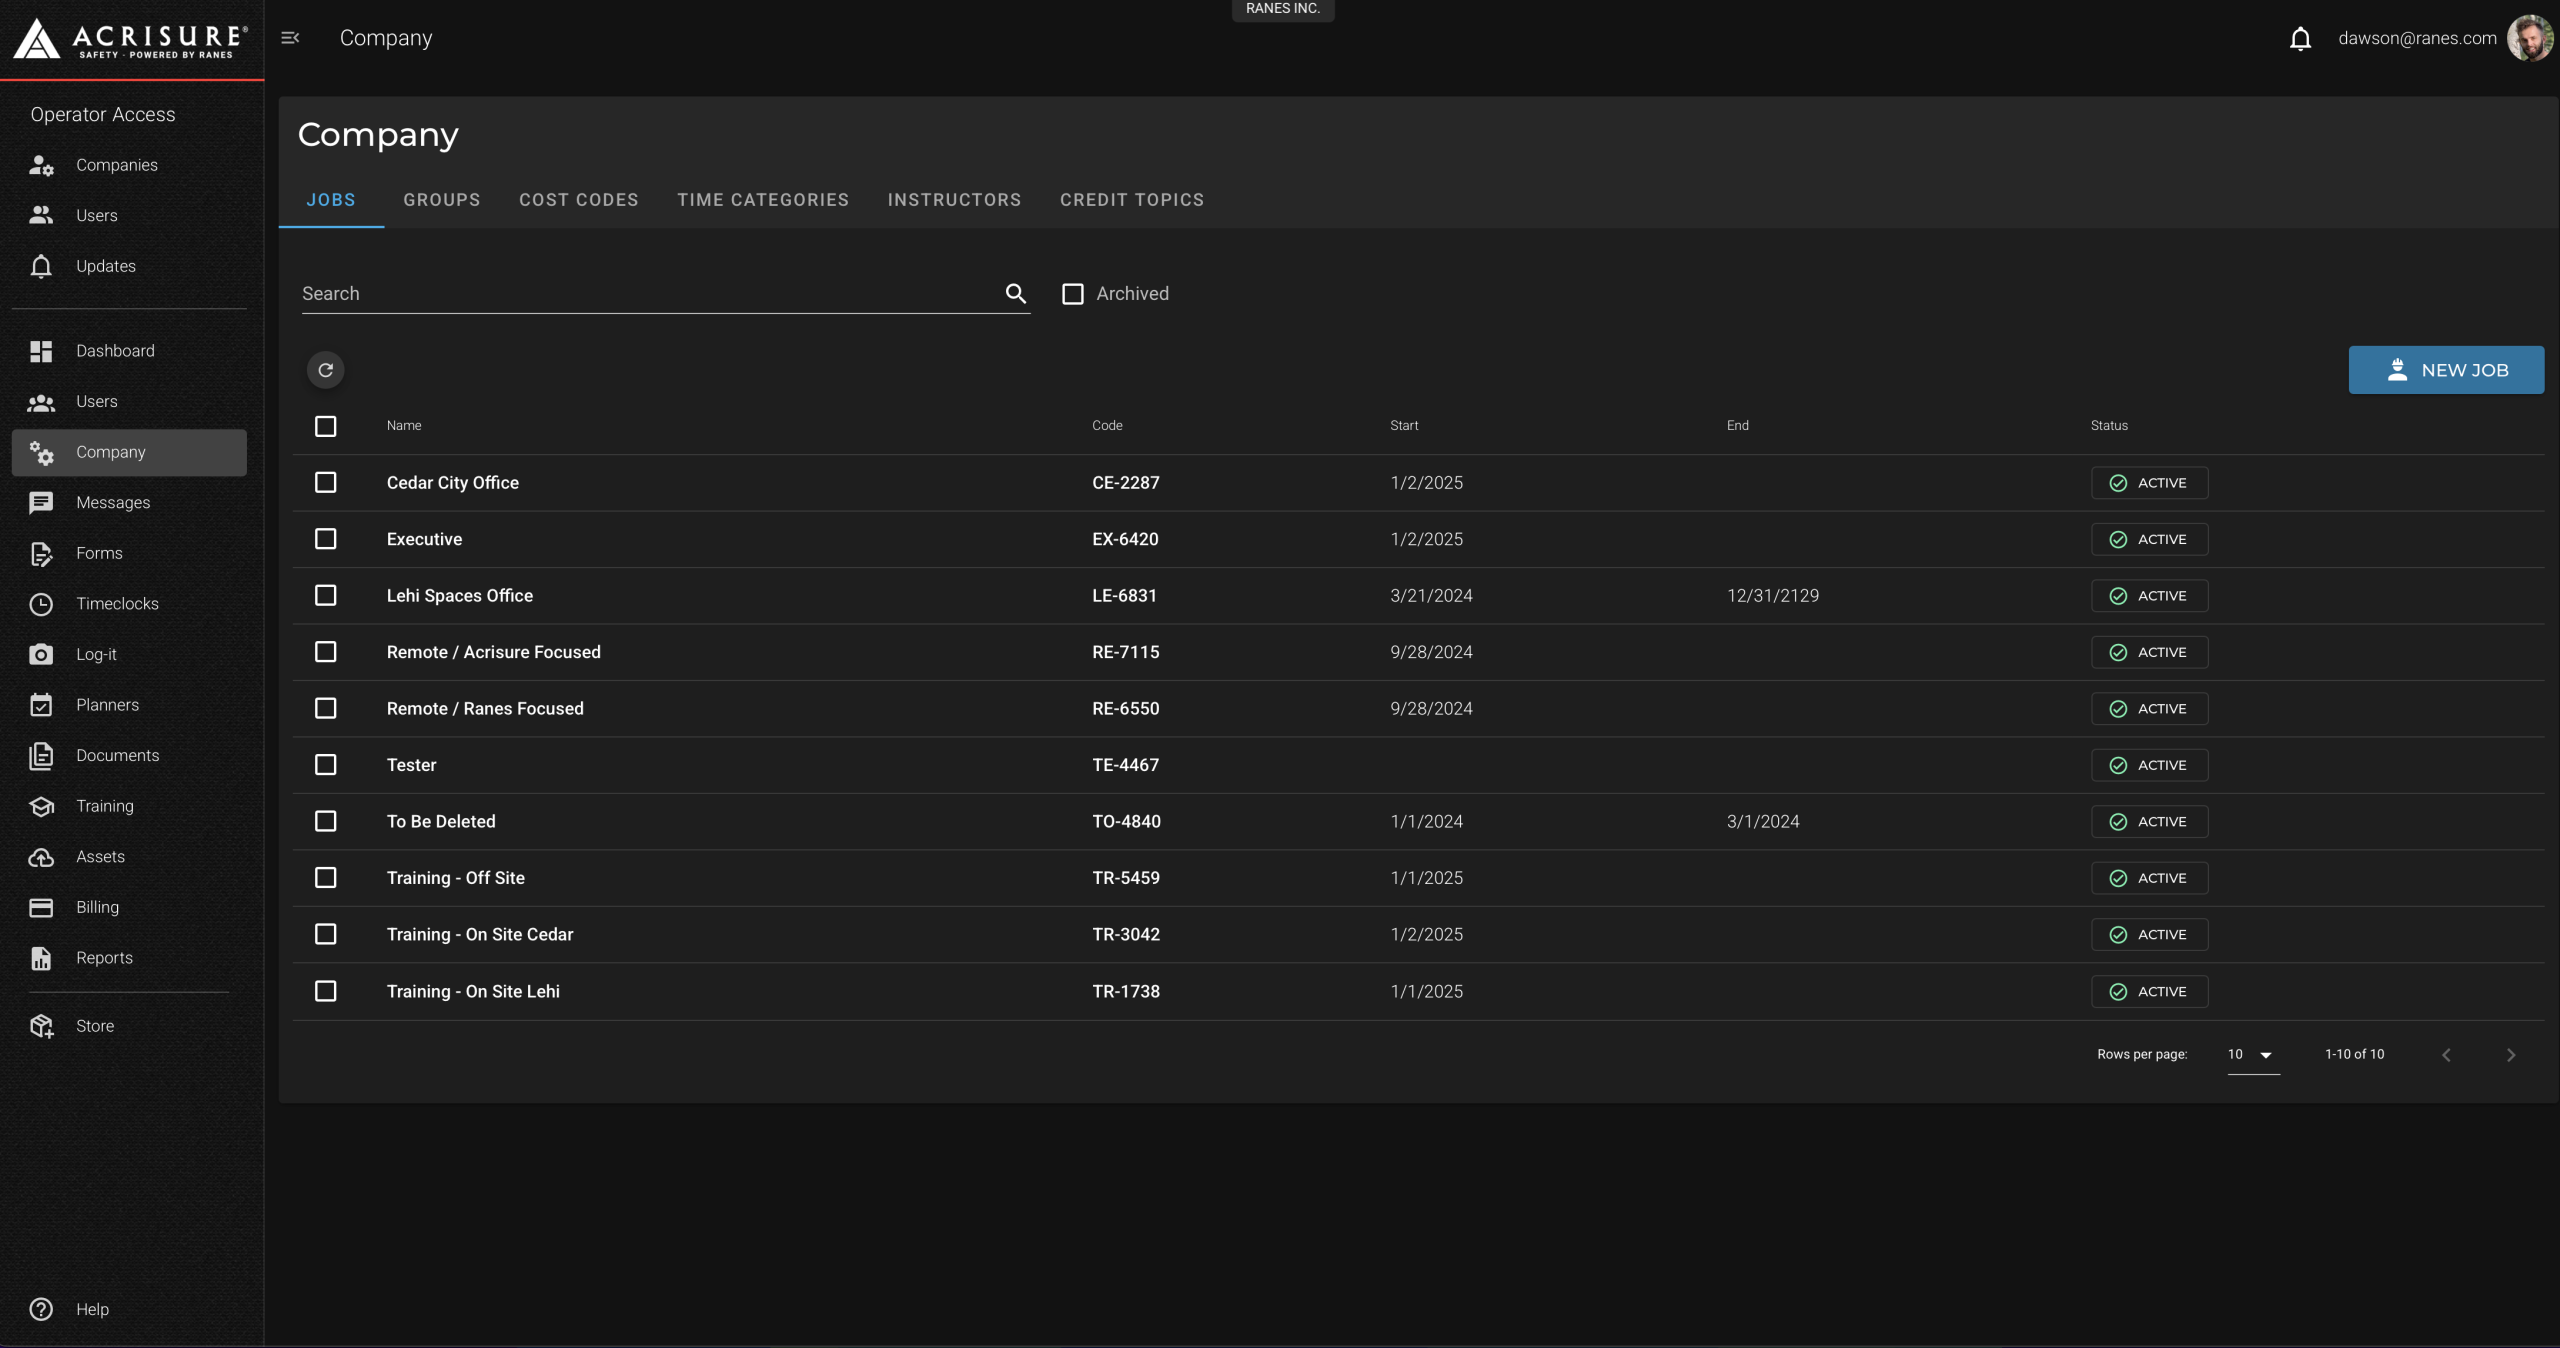
Creating Jobs #
Jobs help assign tasks, resources, and training to specific job sites or roles:
- Go to the Company module in the left navigation bar.
- Select the Jobs tab in the top navigation bar.
- Click New Job.
- Fill out the job details, such as Name, Description, Location Address, and Start/End Dates.
- Add users to the job to ensure they receive tasks or training assigned to the job.
- If applicable, assign cost codes to the job for better categorization.
- Click Save to create the job.

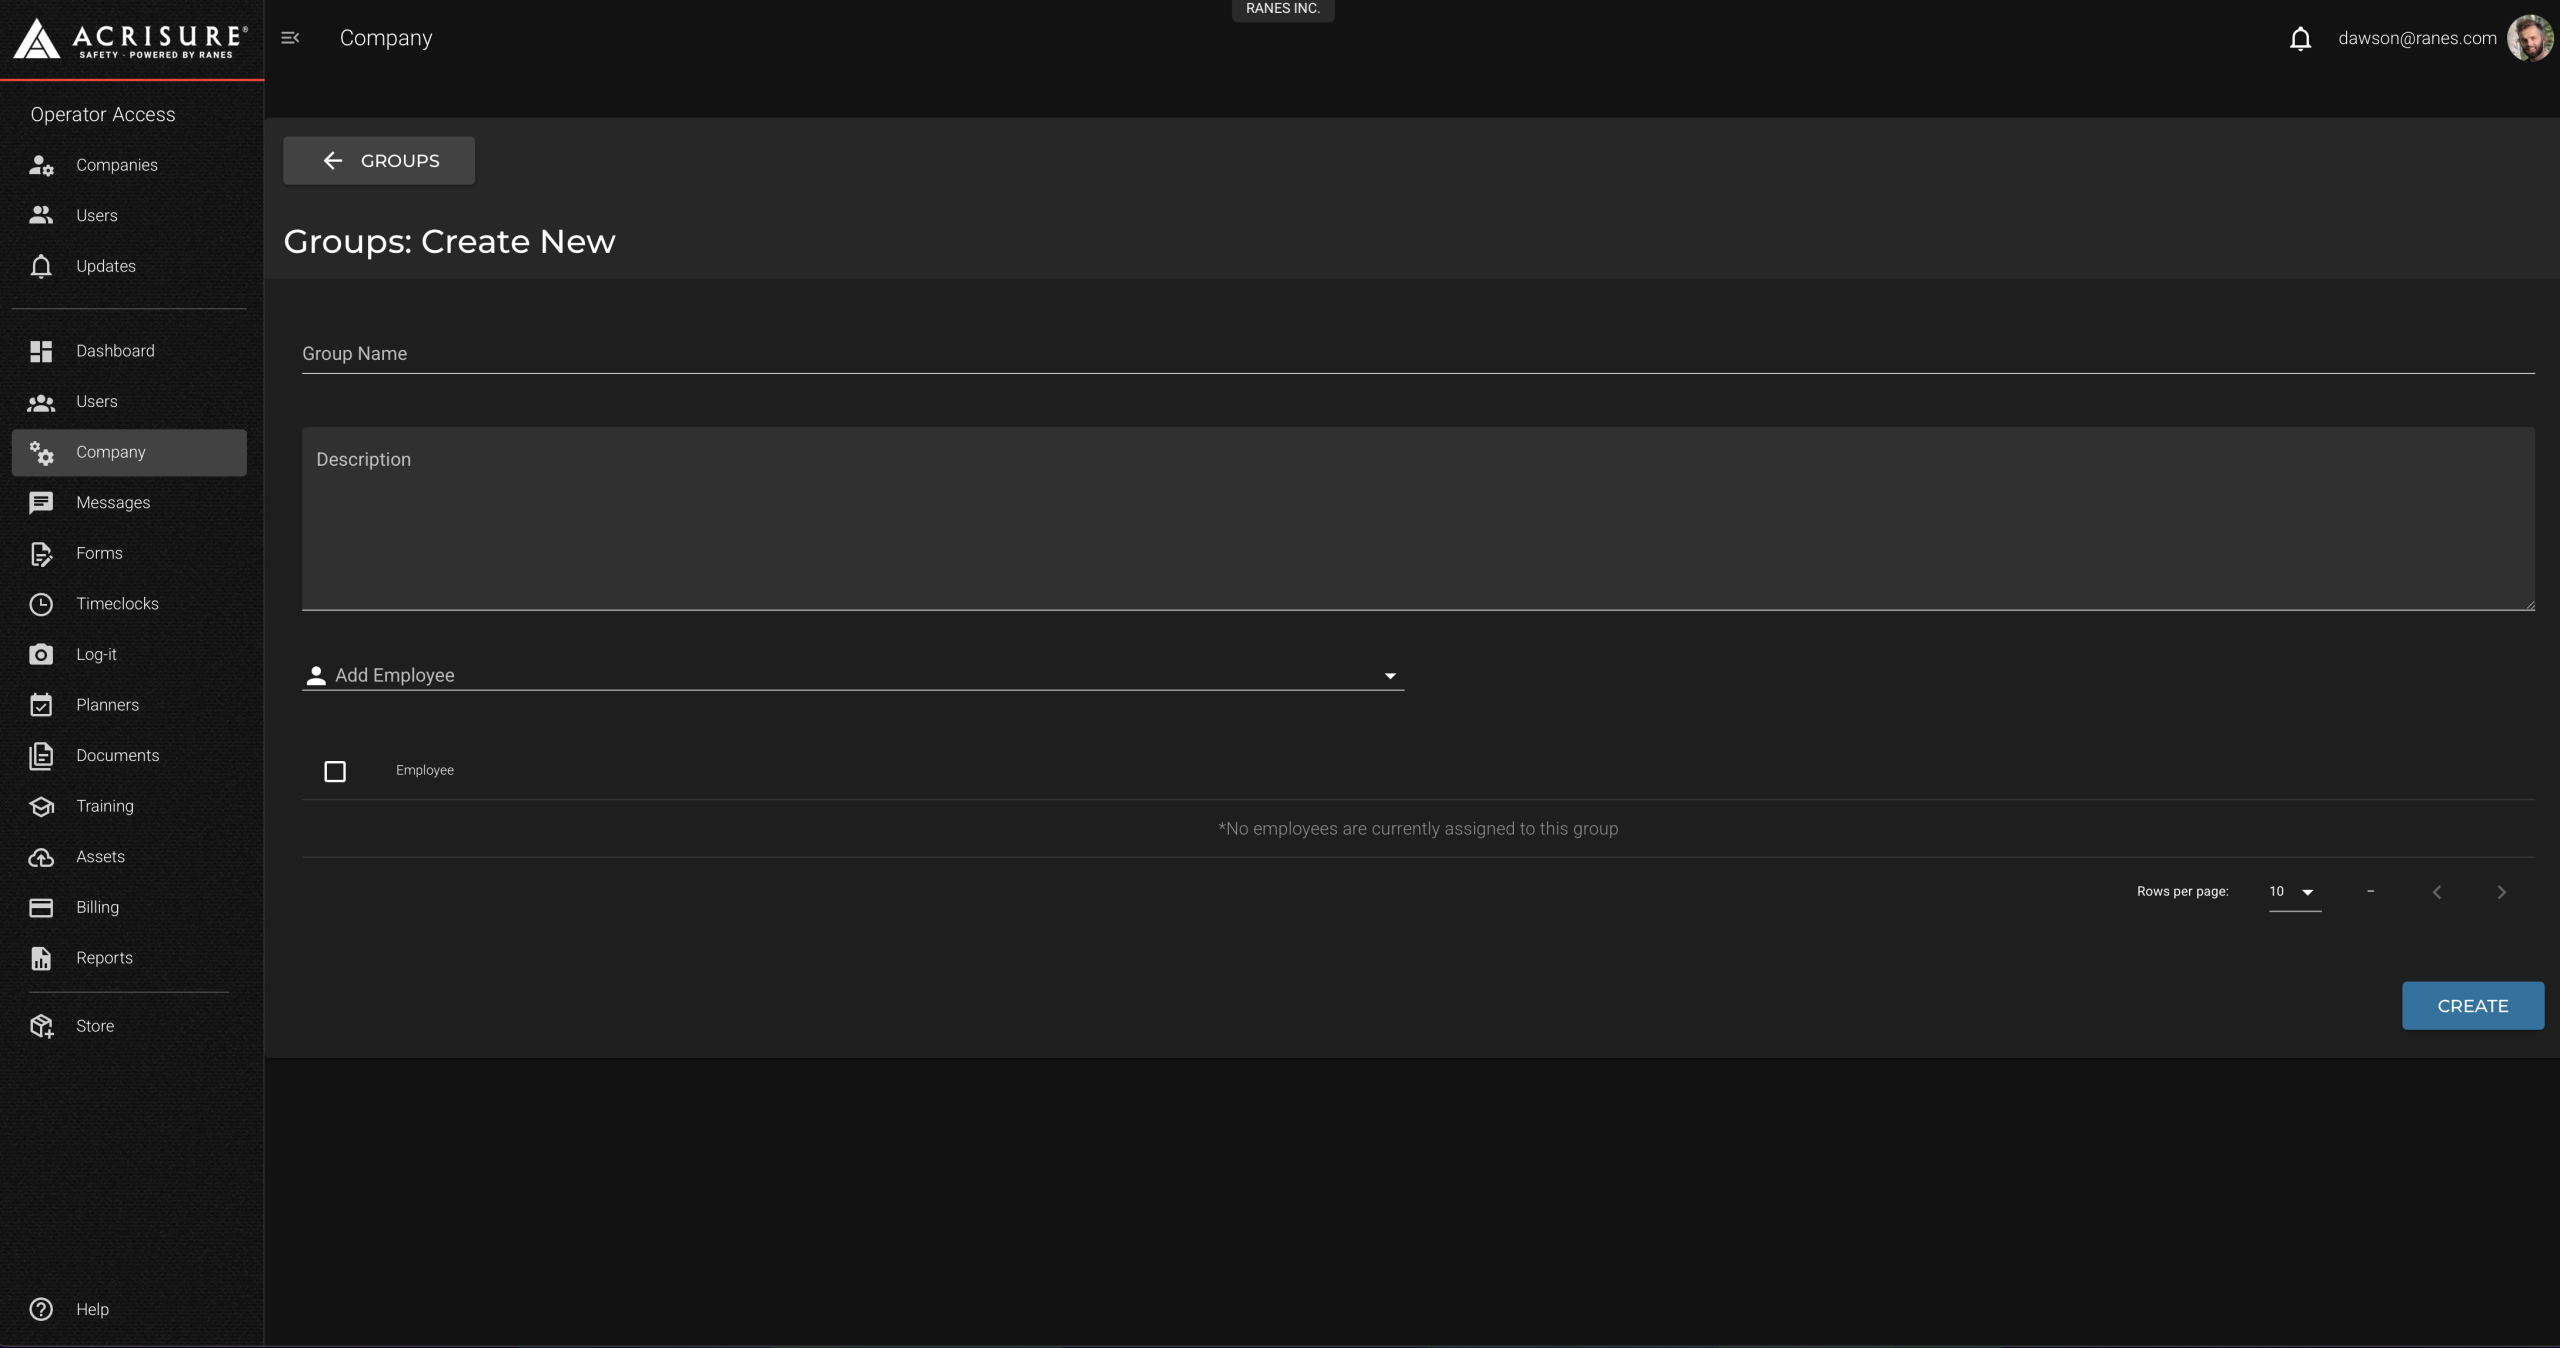
Creating Groups #
Groups allow you to organize employees into teams without tying them to specific jobs or locations:
- Go to the Company module in the left navigation bar.
- Select the Groups tab in the top navigation bar.
- Click New Group.
- Enter the Group Name and Description.
- Add employees to the group from the available list.
- Click Create to save the group.
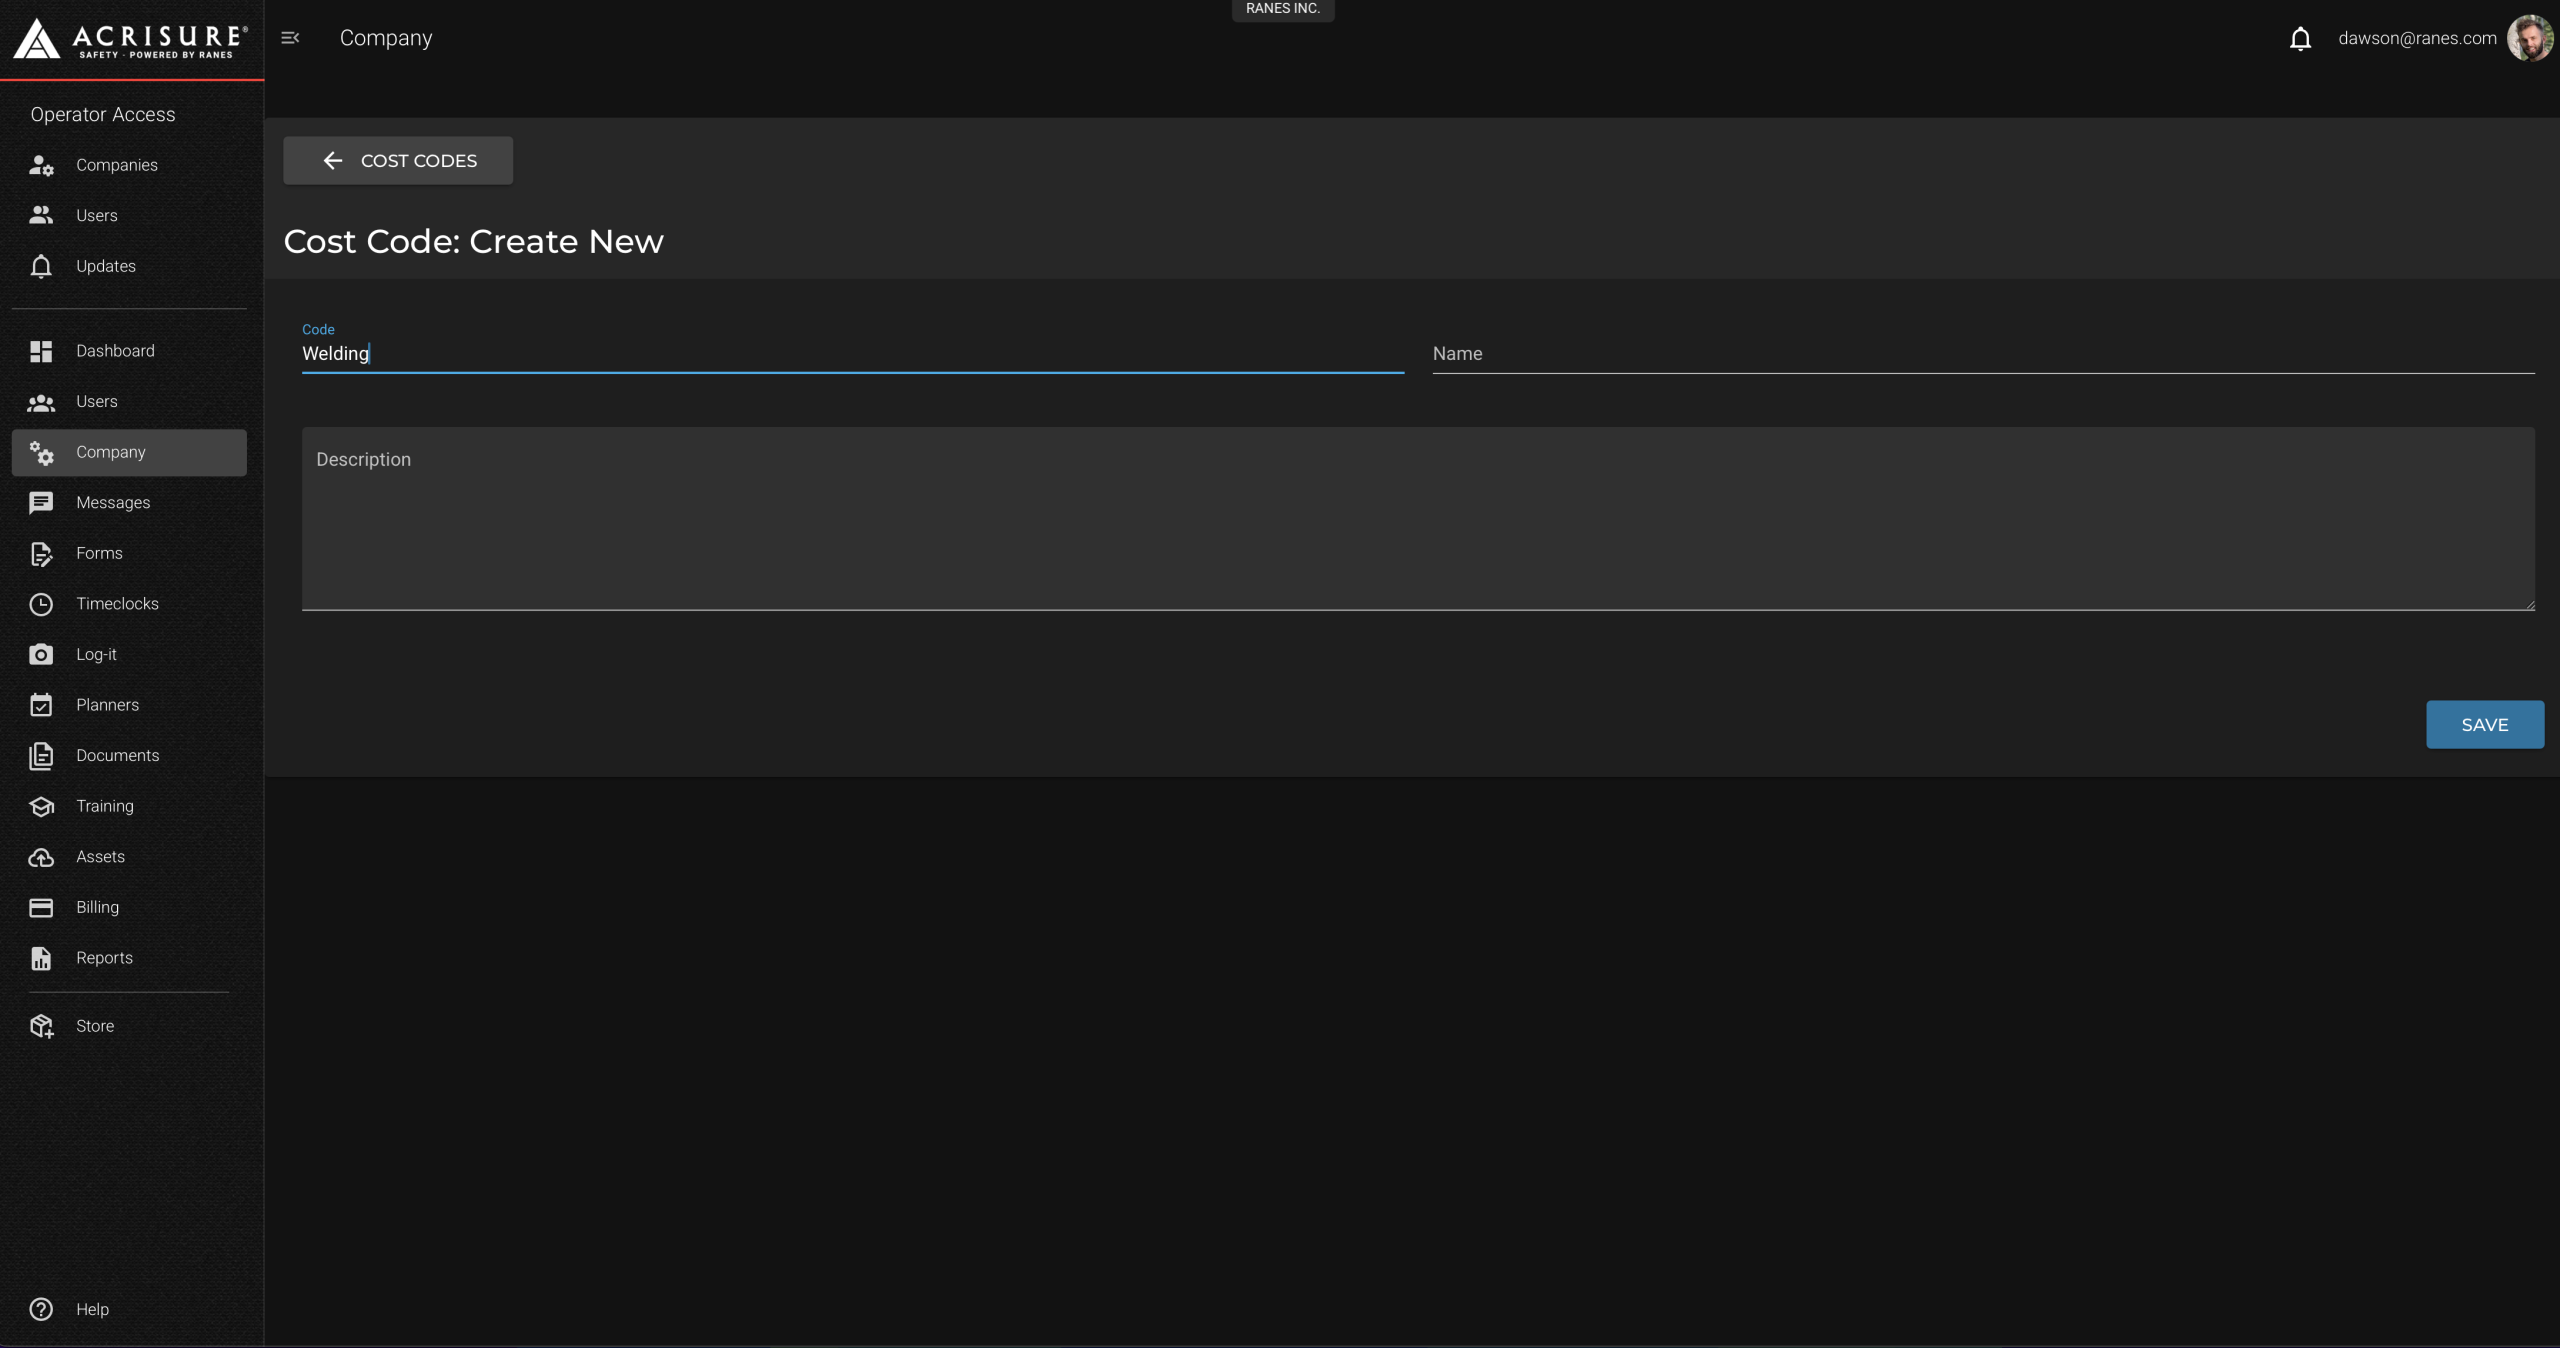
Creating Cost Codes #
Cost Codes allow users to further distinguish the type of work they are performing at a specific job:
- Go to the Company module in the left navigation bar.
- Select the Cost Codes tab in the top navigation bar.
- Click New Code.
- Enter the Cost Code Name and Description.
- Assign the cost code to a job if applicable.
- Click Save.
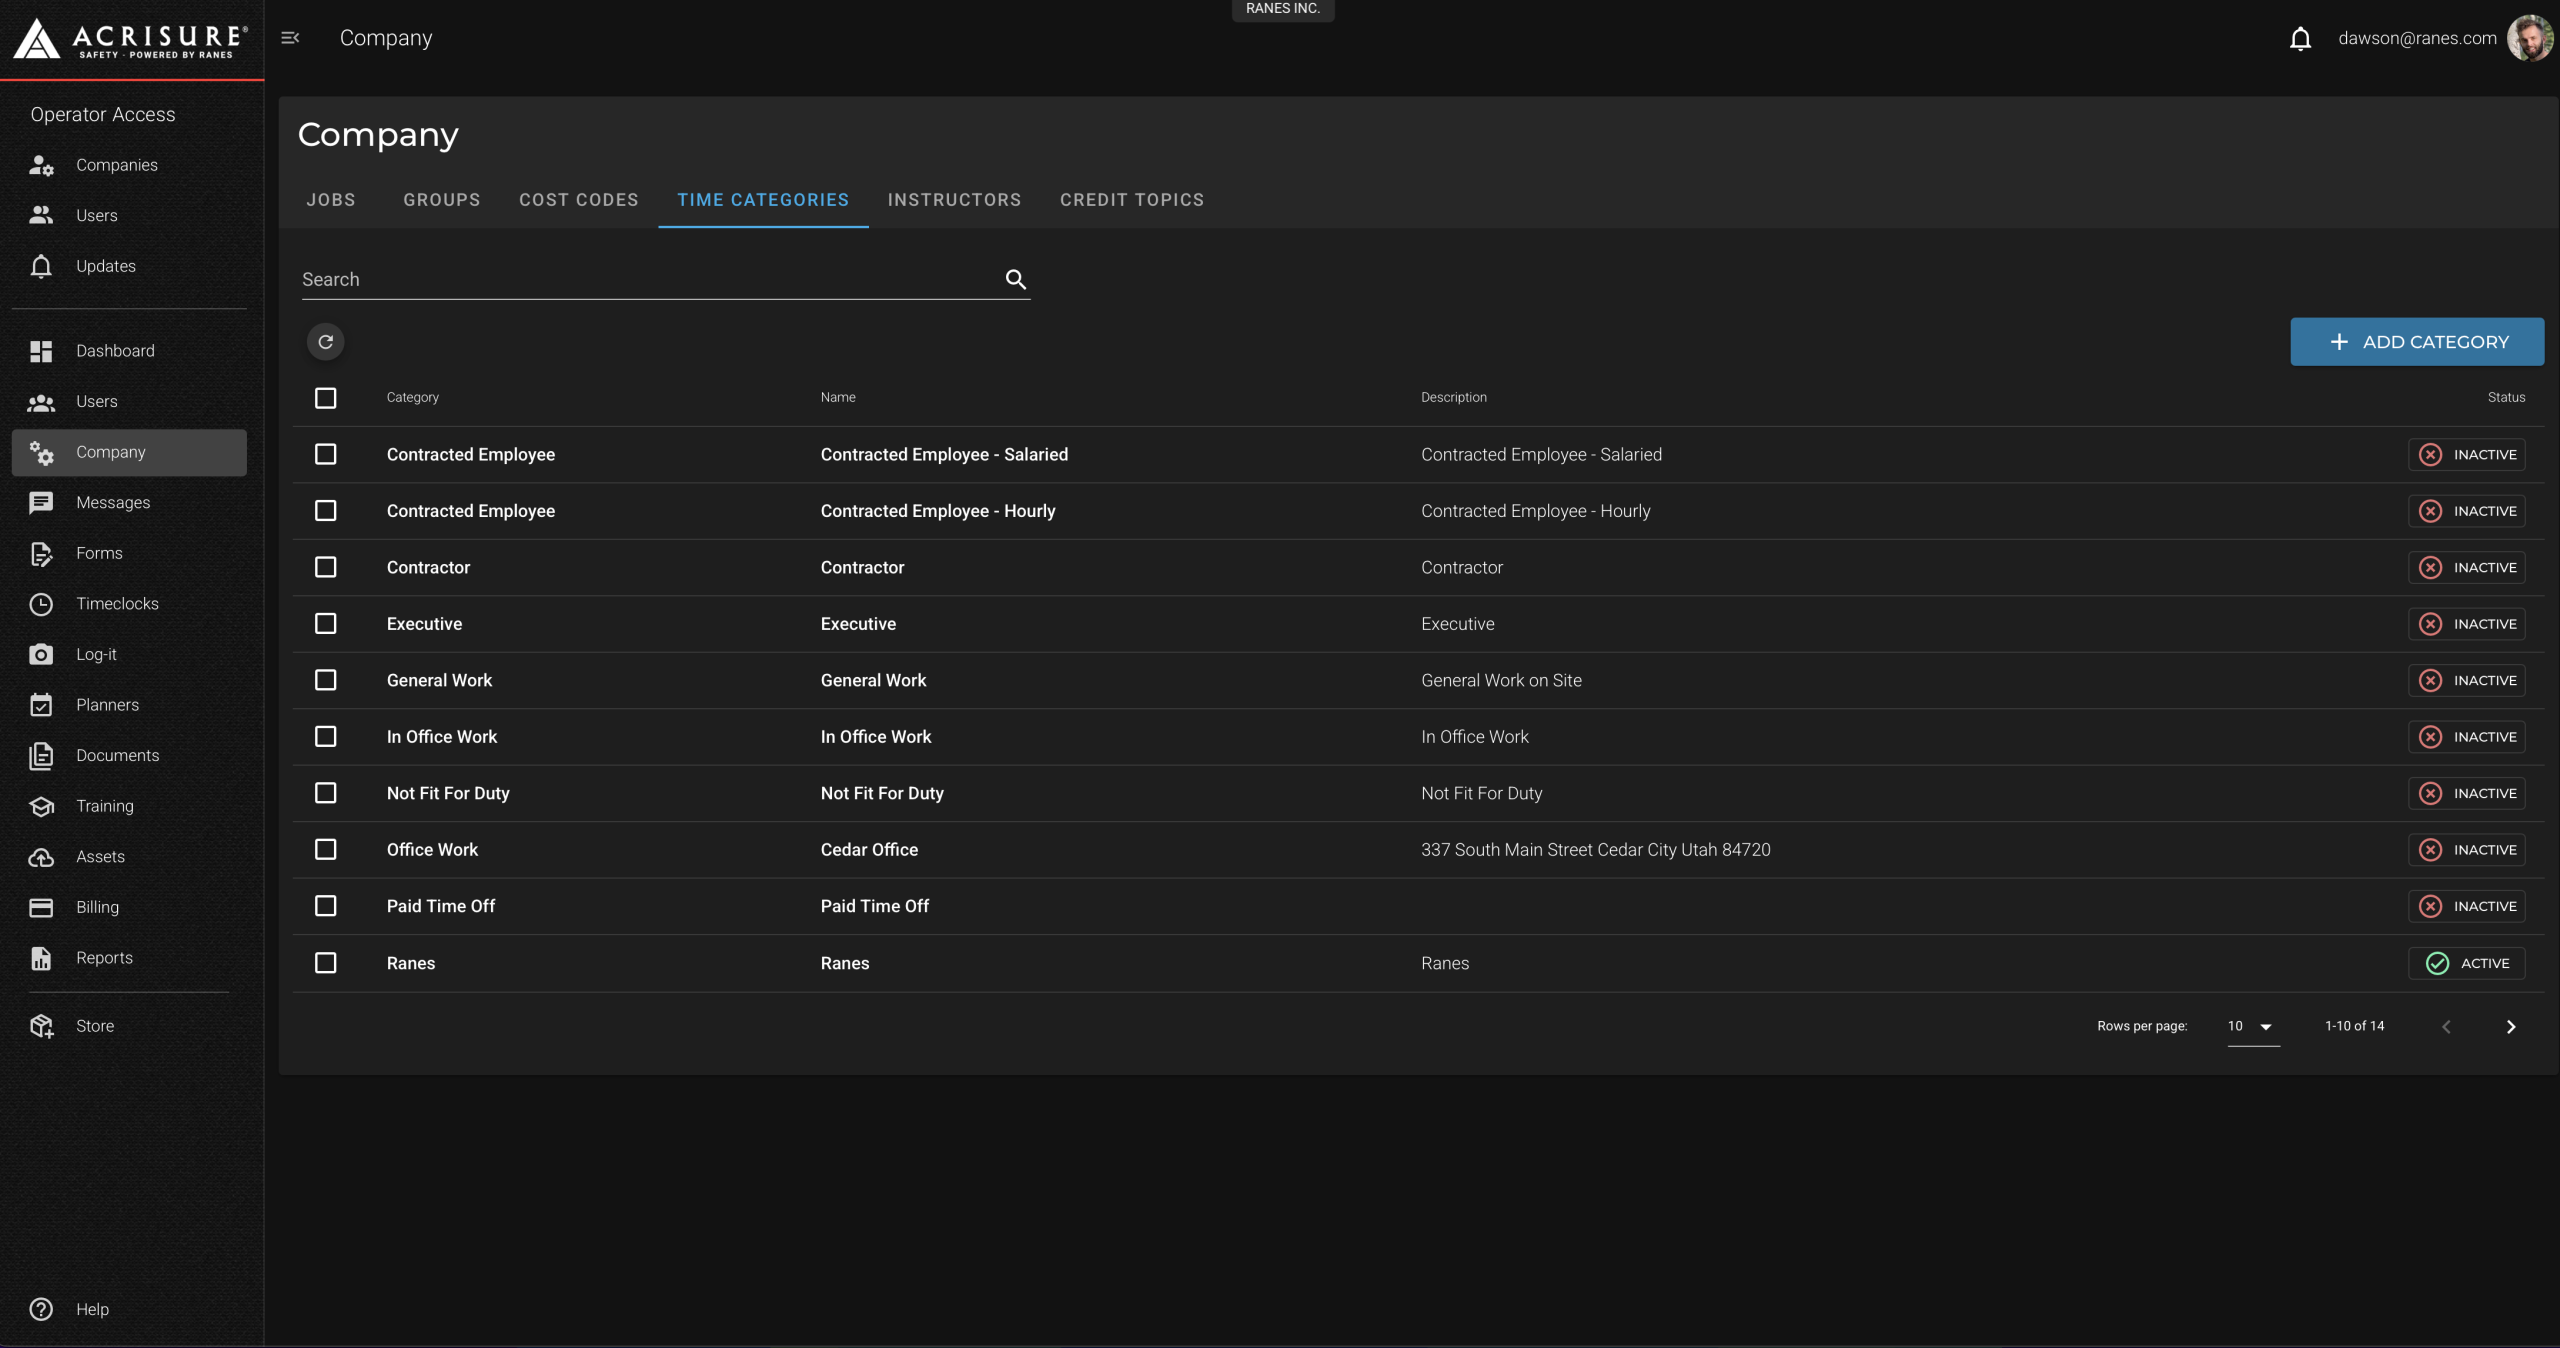
Setting Time Categories #
Time Categories provide options for users to specify the type of check-in they are using:
- Go to the Company module in the left navigation bar.
- Select the Time Categories tab in the top navigation bar.
- Click New Category.
- Enter the Category Name and Description.
- Click Create.
- Ensure the time category is set to Active for users to select it on check-in.
Viewing and Editing Jobs, Groups, Cost Codes, and Time Categories #
Admins can edit or view any existing Jobs, Groups, Cost Codes, or Time Categories:
- Go to the Company module in the left navigation bar.
- Select the respective tab (Jobs, Groups, Cost Codes, Time Categories) in the top navigation bar.
- Locate the item you want to edit or view in the list.
- Click directly on the item to make changes.
Best Practices #
- Structure Your Organization: Set up jobs and groups that mirror your company’s teams or locations.
- Use Cost Codes: Add cost codes to track work performed at specific locations.
- Activate Time Categories: Ensure time categories are set to active so they are available during check-ins.
Training & Support #
For a video walkthrough of the company assembly process, visit the video guide below:


